
A Storybook Easter Gathering Filled with Flowers, Pastel Sweets & Springtime Charm
April 2, 2025
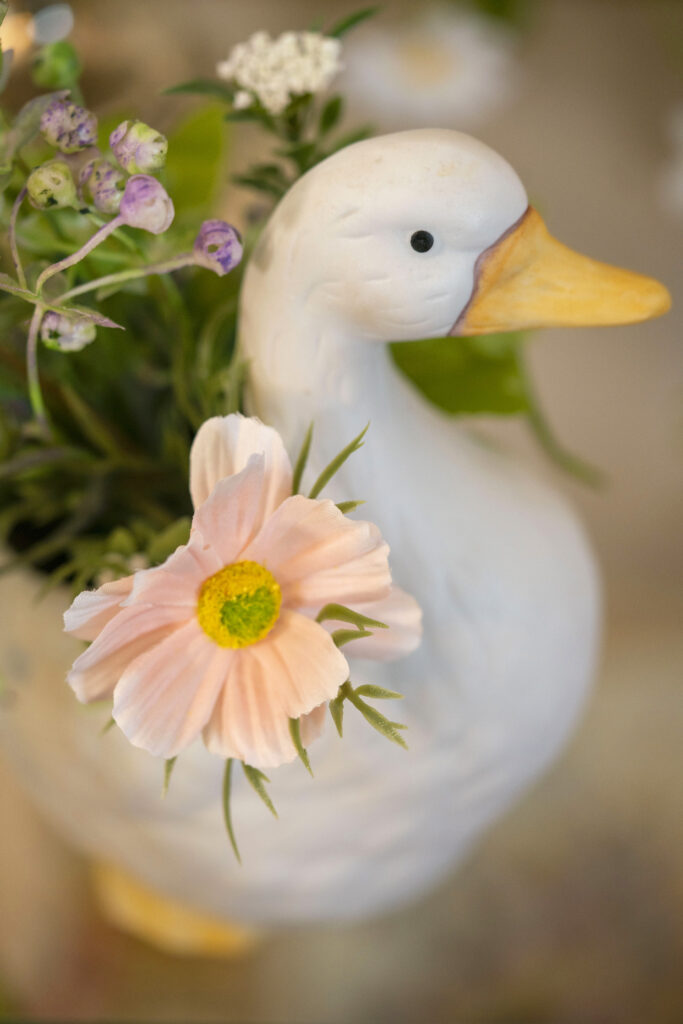
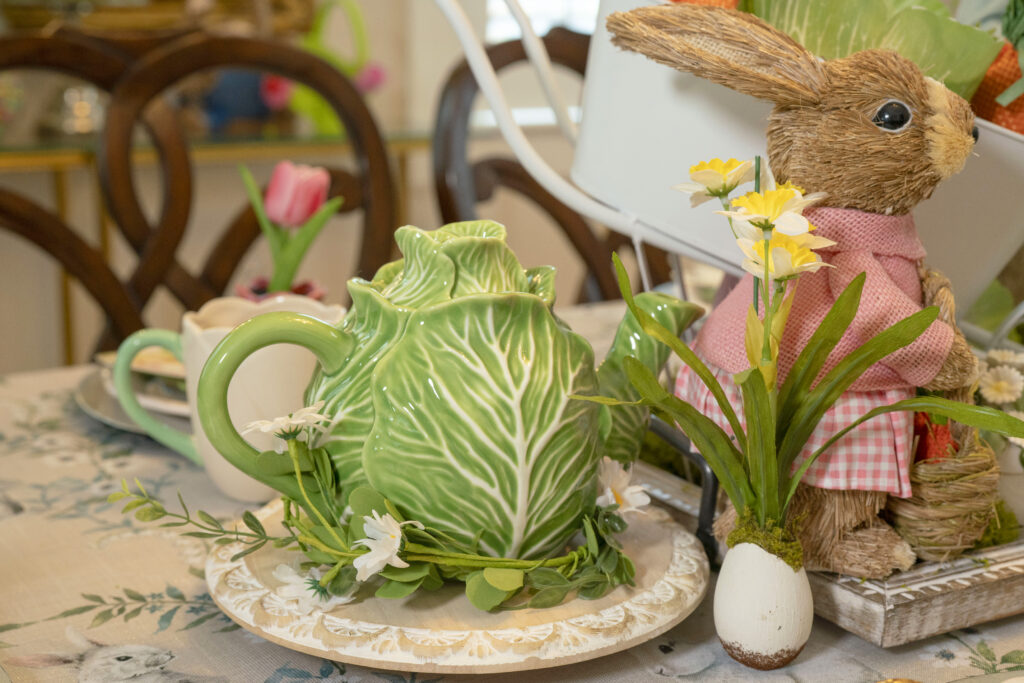
There’s something so magical about Easter entertaining—the soft pastel colors, fresh spring flowers, tiny bunnies tucked throughout the house, and tables filled with sweet homemade treats. This year, I wanted to create a gathering that felt whimsical, nostalgic, and almost storybook-inspired, blending vintage Easter touches with delicate florals and homemade gluten free vegan sugar cookies decorated in cheerful spring colors.
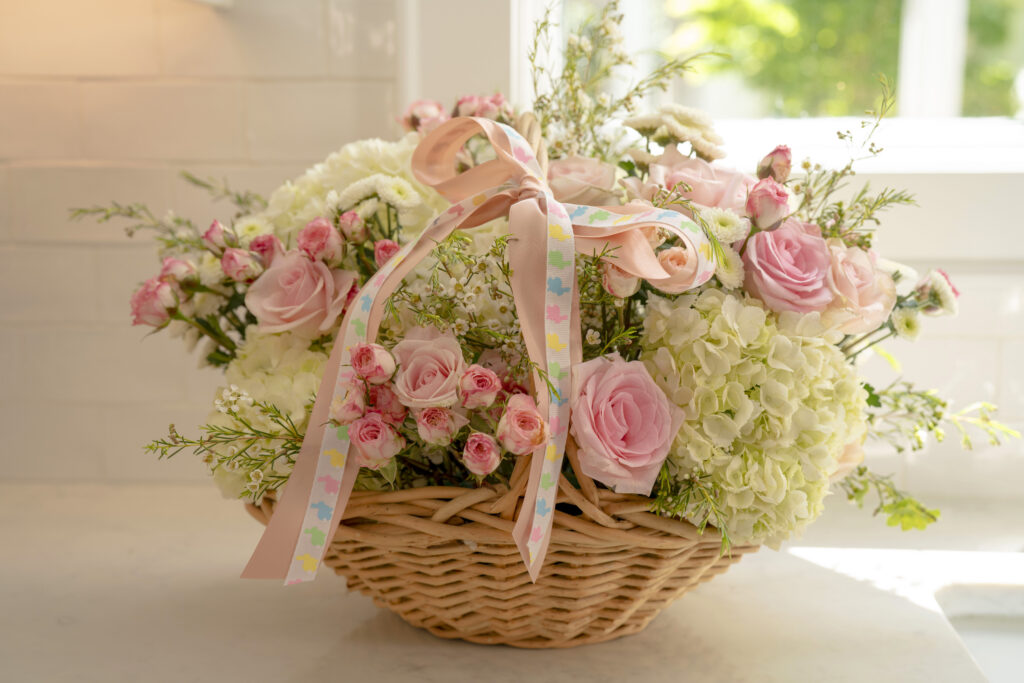
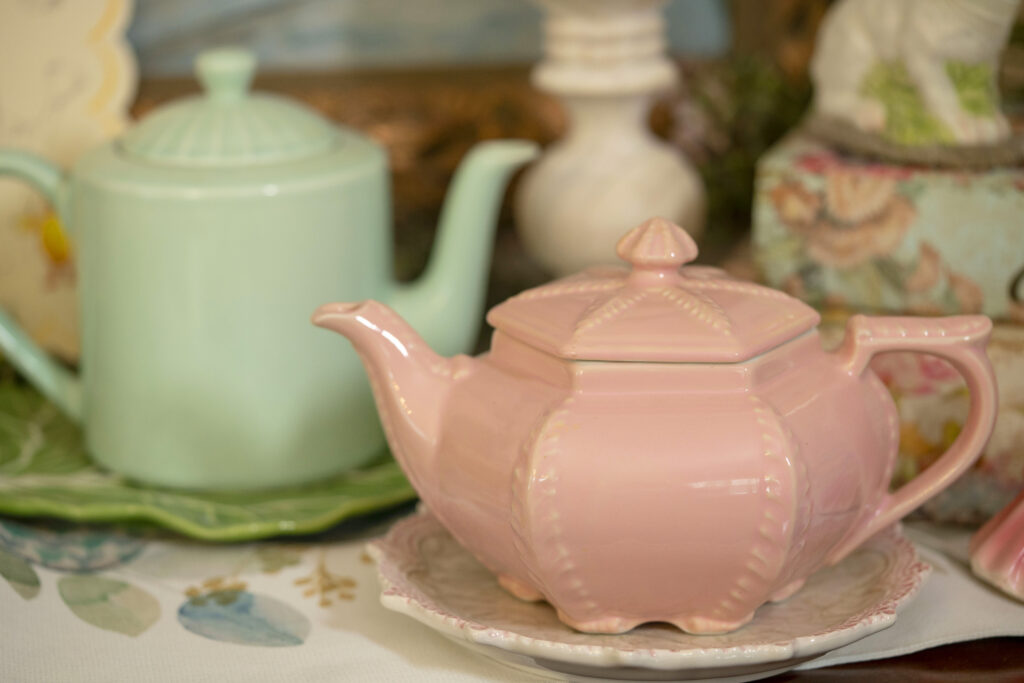
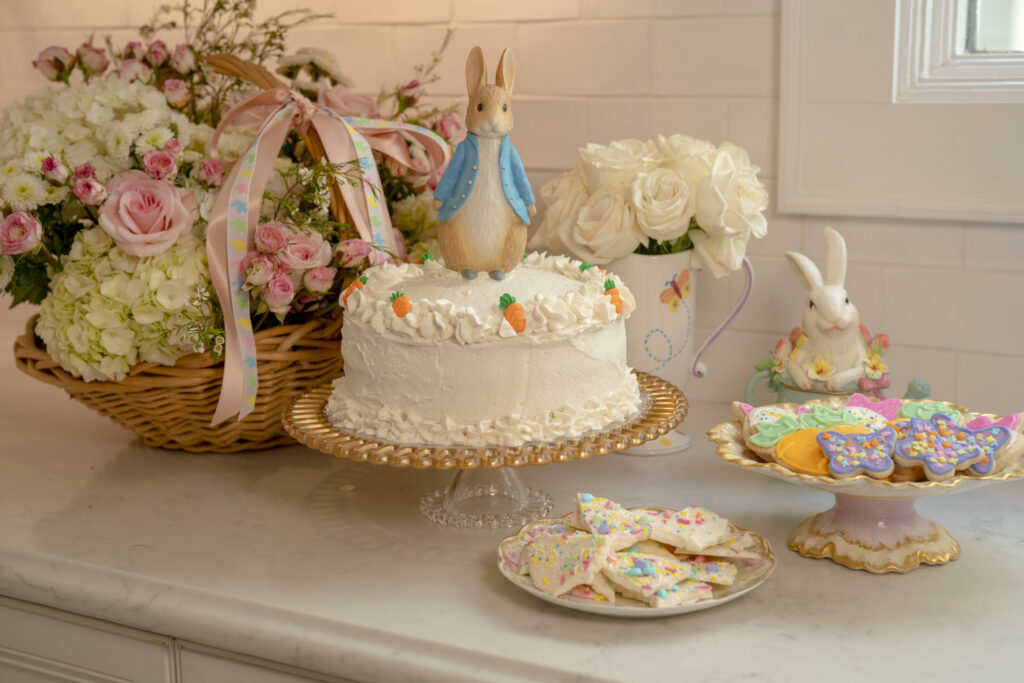
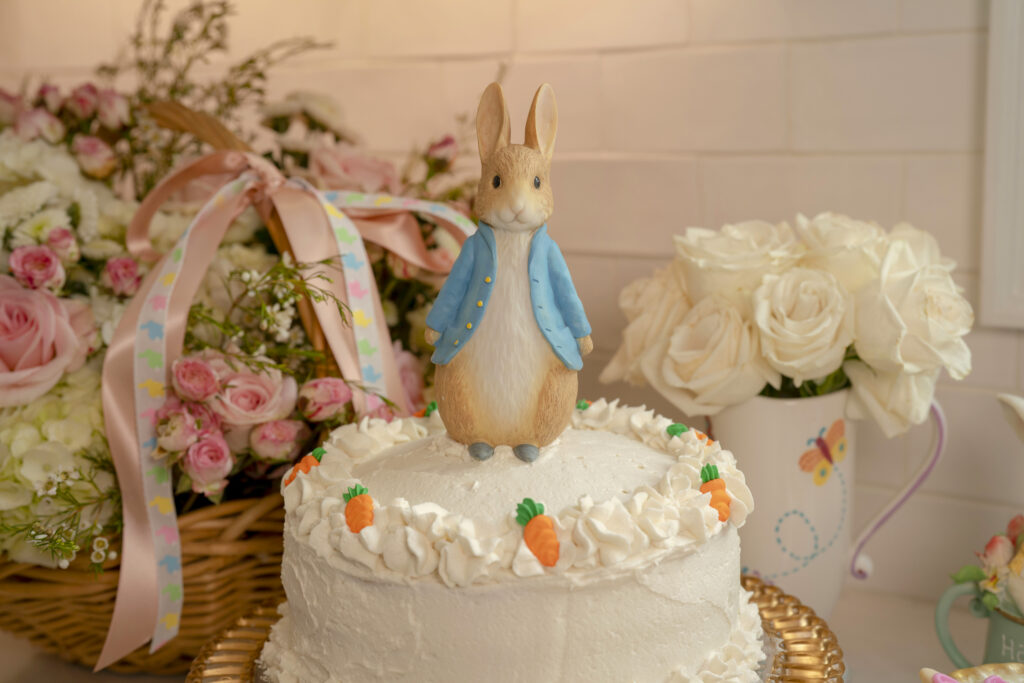
From overflowing baskets of hydrangeas and roses tied with pastel ribbon, to Peter Rabbit-inspired cakes and delicate tea sets in soft pinks and buttery yellows, every detail was meant to feel joyful and welcoming.
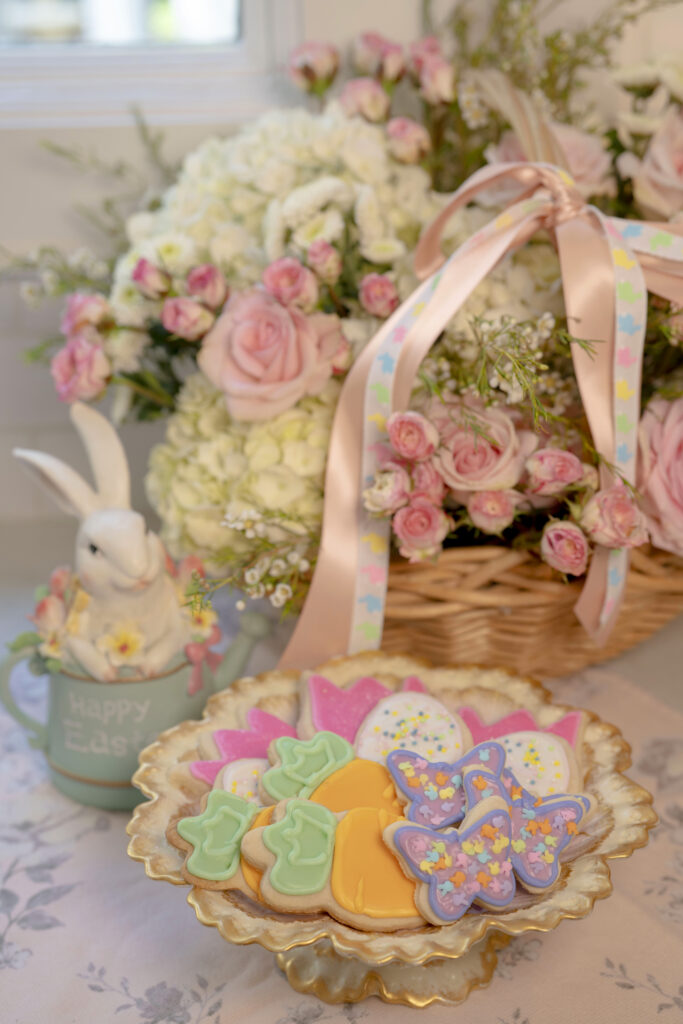
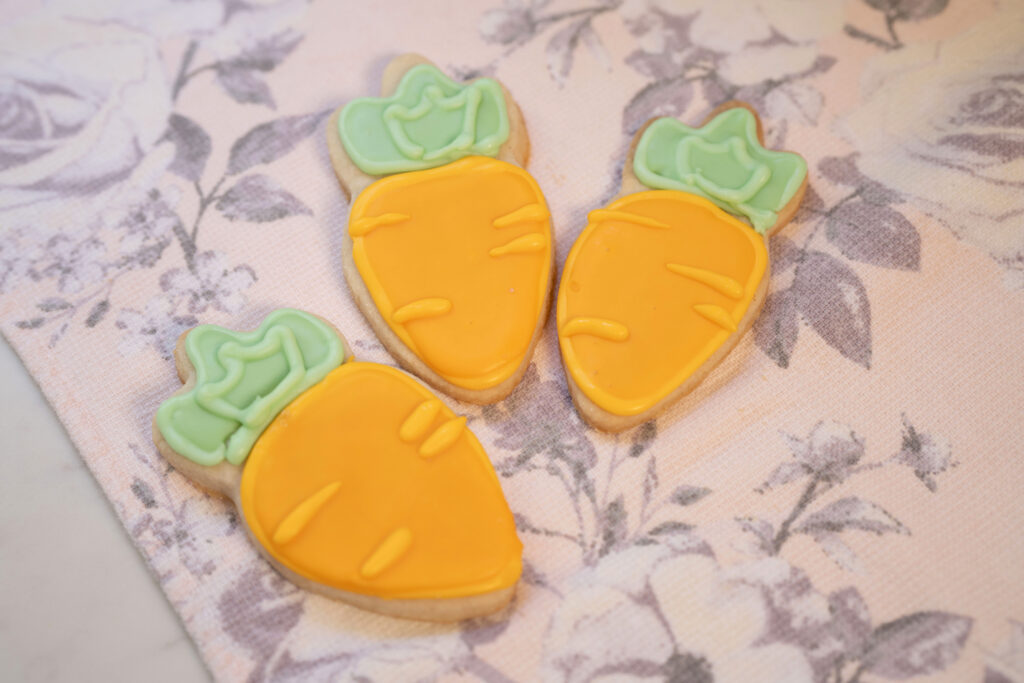
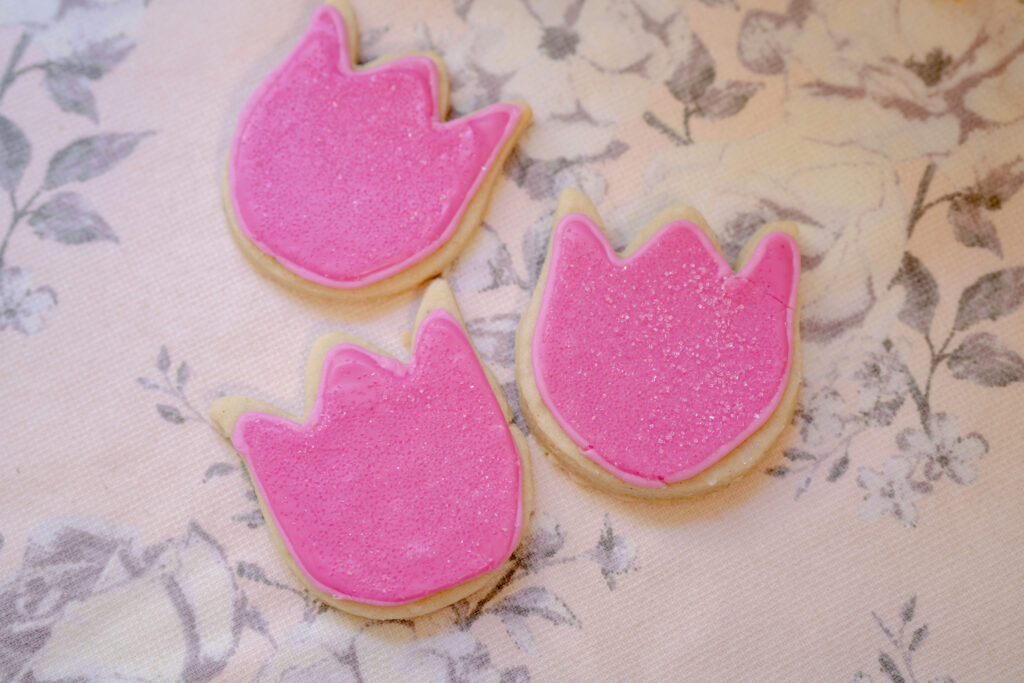
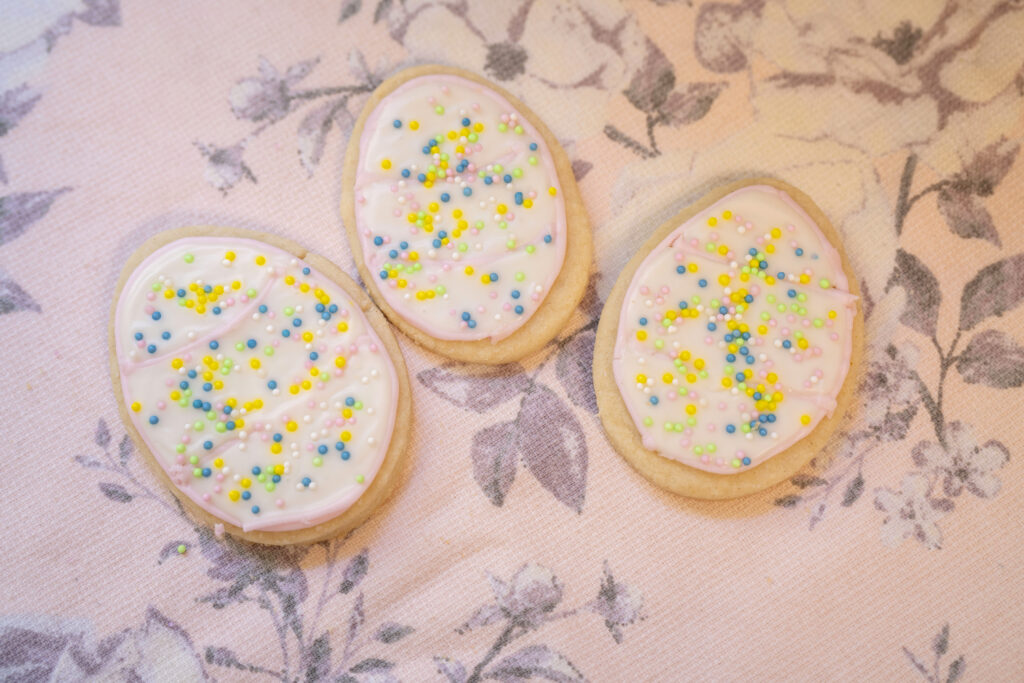
The cookies became one of my favorite details of the day. Decorated as tulips, butterflies, carrots, and speckled Easter eggs, they added such a playful touch to the table while still feeling elegant and soft alongside the florals and vintage-inspired décor.
Creating a Soft & Romantic Easter Color Palette
For this Easter gathering, I focused on:
- Blush pink roses
- Creamy white hydrangeas
- Soft lavender accents
- Pale mint and butter yellow details
- Natural wicker textures
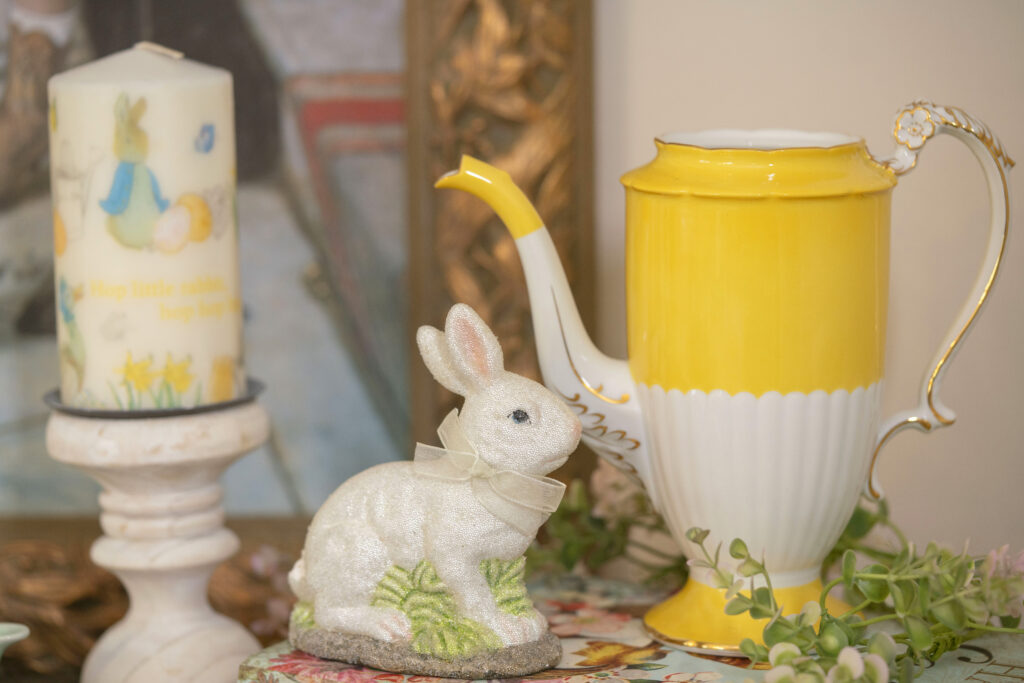
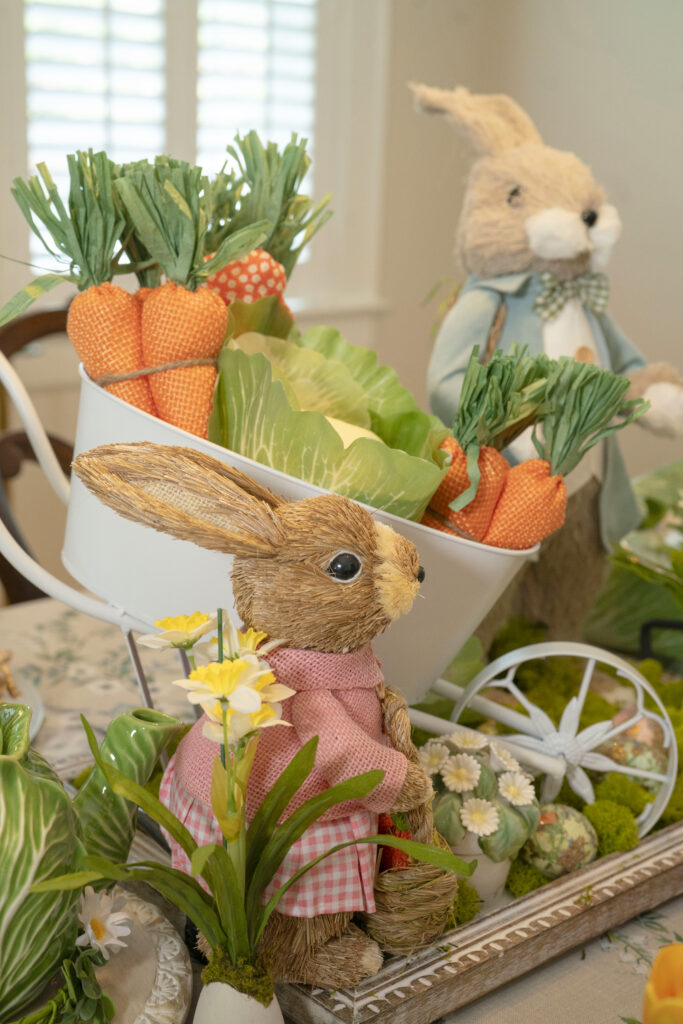
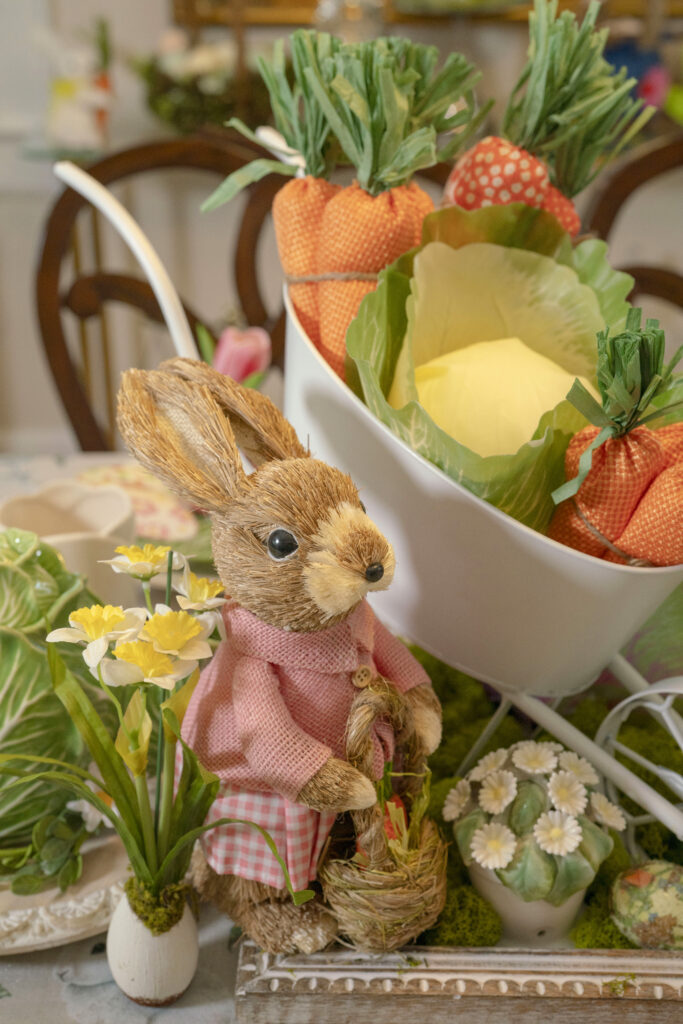
- Vintage-inspired bunny décor
- Gold-rimmed serving pieces
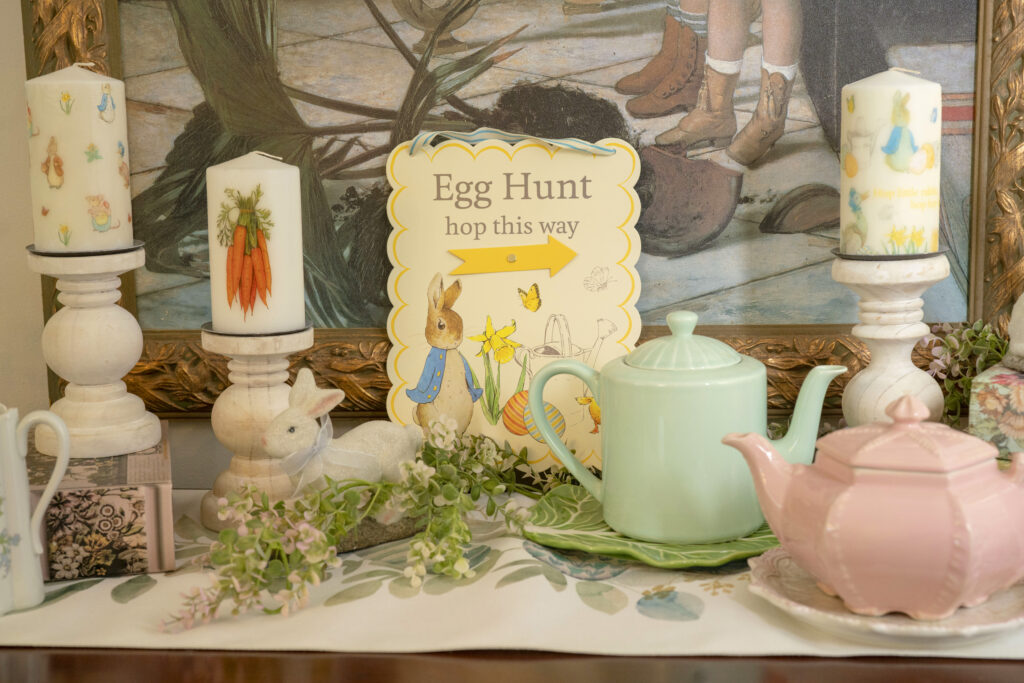
The floral basket became the centerpiece of the kitchen, overflowing with hydrangeas, spray roses, wax flowers, and garden greenery tied together with satin ribbon and pastel bunny trim for an extra whimsical detail.
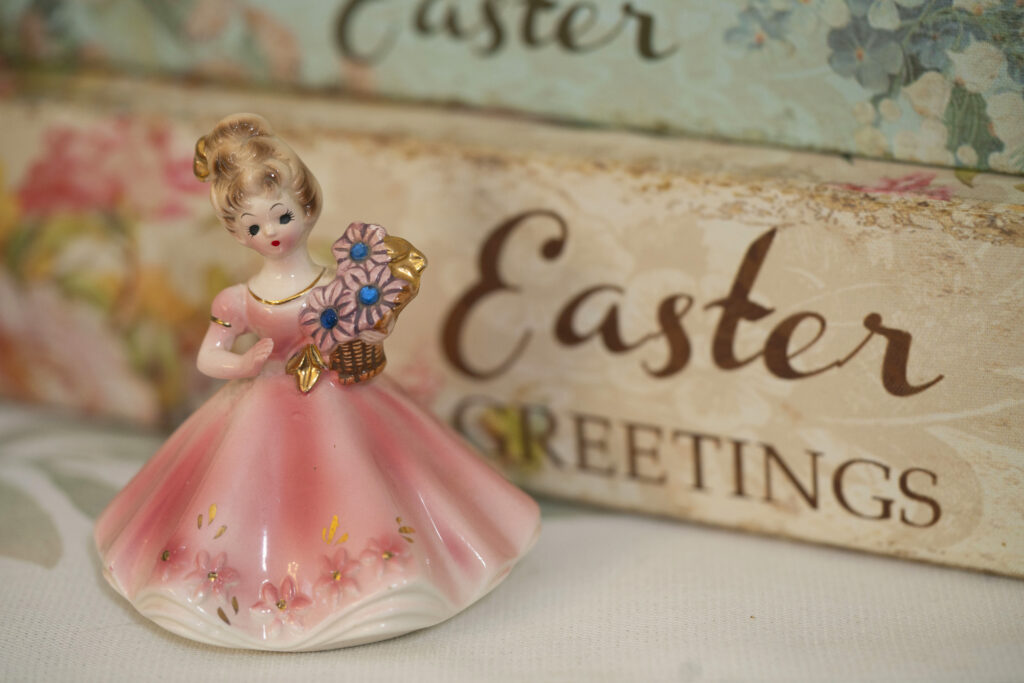
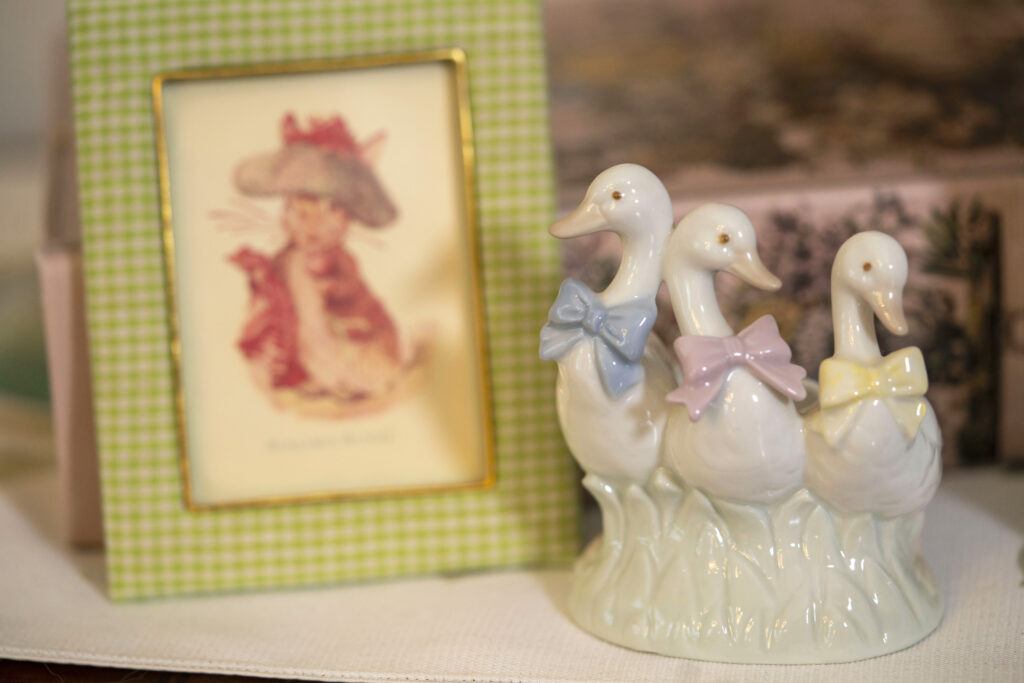
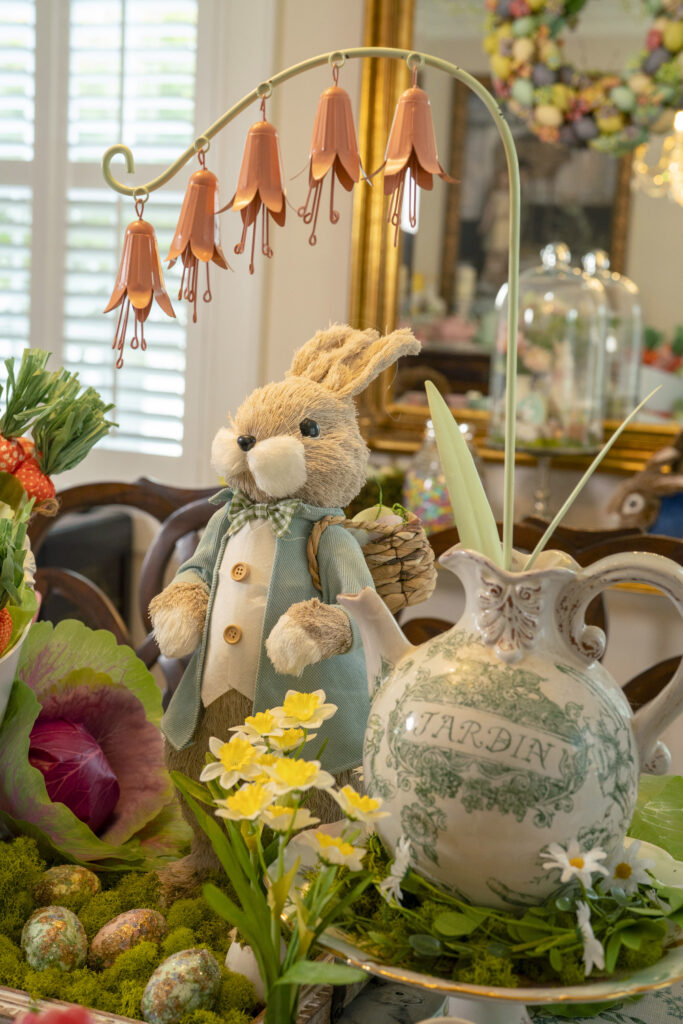
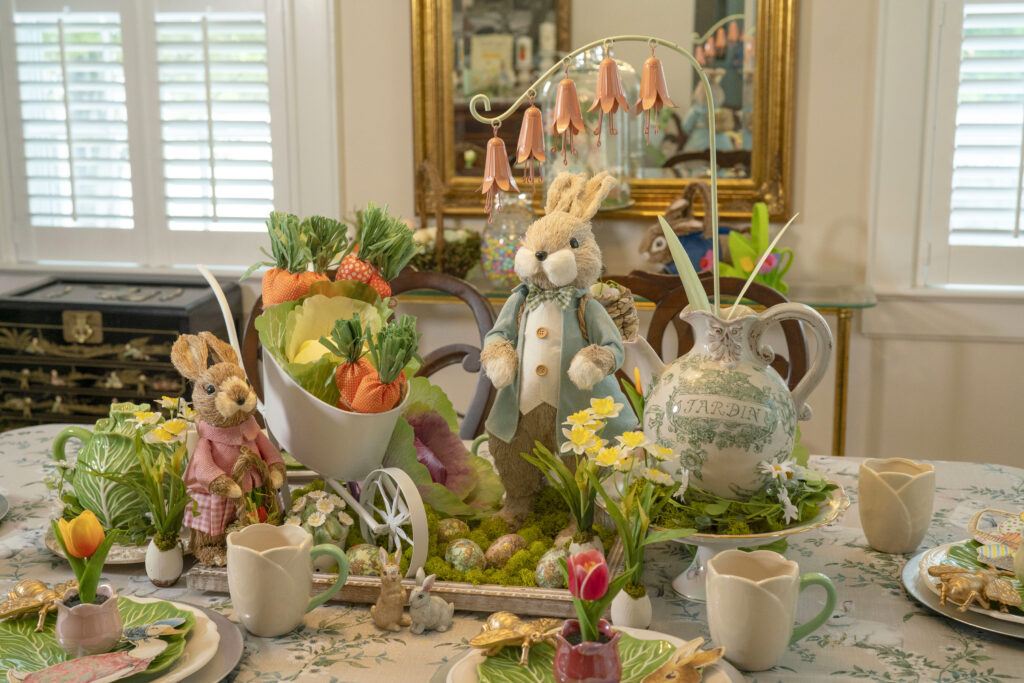
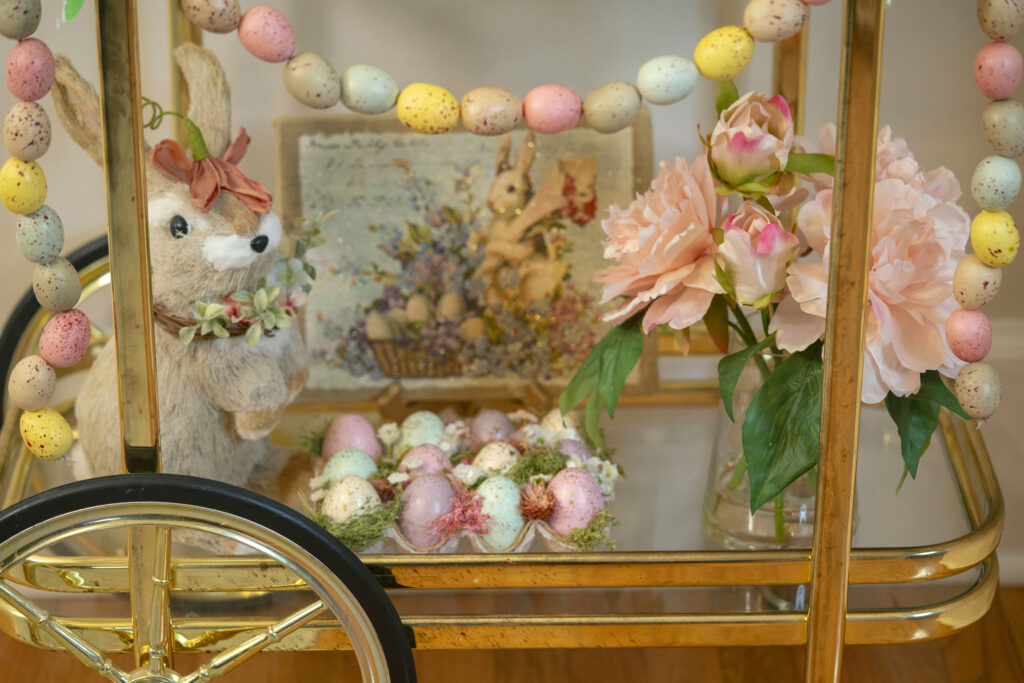
I also mixed vintage-style Easter figurines throughout the display to create that layered “collected over time” feeling that makes seasonal decorating feel especially charming.
The Ultimate Gluten-Free Vegan Sugar Cookies
These cookies are soft, buttery, easy to decorate, and perfect for Easter gatherings, tea parties, baby showers, or spring entertaining.
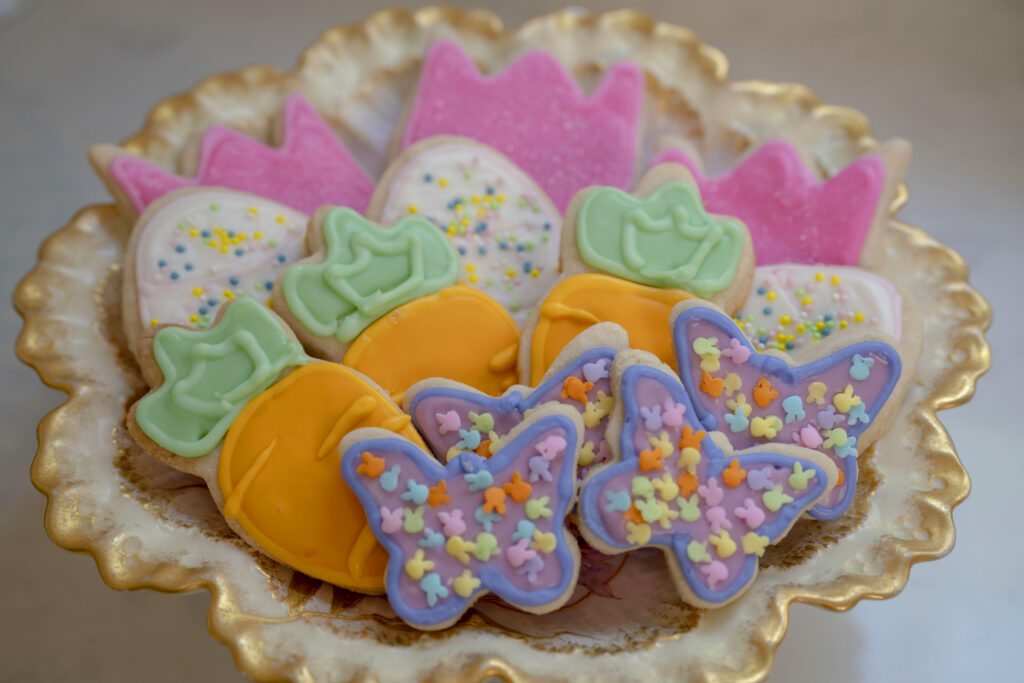
It has taken me years to find and tweak the perfect vegan gluten-free sugar cookie recipe—so here it is, so you don’t have to. These cookies have soft centers, lightly crisp edges, and are perfect for decorating or enjoying on their own. They are SO good!
Gluten Free Vegan Sugar Cookies
For the Cookies
- 1 cup vegan butter, softened
- ¾ cup granulated sugar
- 1 teaspoon vanilla extract
- 2 ½ cups gluten-free all-purpose flour blend
- 1 teaspoon baking powder
- ¼ teaspoon salt
Instructions
Preheat the oven to 350°F.
· Cream the butter and sugar
In a large mixing bowl, beat the vegan butter and sugar together until light and fluffy. Mix in the vanilla extract.
· Combine the dry ingredients
In a separate bowl, whisk together the gluten-free flour, baking powder, and salt.
· Make the dough
Slowly add the dry ingredients into the wet ingredients, mixing until a soft dough forms.
· Chill the dough
Cover and refrigerate the dough for 30 minutes. This step helps the cookies hold their shape and improves the texture.
· Roll and cut
Lightly flour your surface with gluten-free flour and roll the dough to about ¼-inch thickness. Cut into shapes with cookie cutters.
· Bake
Place cookies on a parchment-lined baking sheet and bake for 10–12 minutes, or until the edges are just lightly golden.
· Cool completely
Let the cookies cool on the baking sheet for a few minutes before transferring to a wire rack.
Vegan Royal Icing Recipe
This vegan royal icing is glossy, smooth, and perfect for decorating sugar cookies without eggs. Made with aquafaba—the liquid from a can of chickpeas—it hardens beautifully and works perfectly for both outlining and flooding cookies.
What is Aquafaba?
Aquafaba is the liquid found in a can of chickpeas. It behaves similarly to egg whites, making it an amazing vegan substitute for royal icing, meringues, and other baking recipes. The good news is that it doesn’t taste bad as an ingredient in the recipe.
Ingredients
- 1/4 cup aquafaba
- 1 pound powdered sugar
- 1 teaspoon cream of tartar
- 1 teaspoon vanilla extract
- Gel or liquid food coloring (optional)
- Water or lemon juice, for thinning icing
Instructions
Step 1: Make the Base Icing
- In a large mixing bowl, combine the aquafaba, powdered sugar, cream of tartar, and vanilla.
- Beat with an electric mixer for 2–3 minutes until smooth and glossy.
Step 2: Create the “Dam” Icing
This thicker icing is used to outline your cookies and keep the flood icing contained.
- The consistency should resemble creamy peanut butter.
- If your icing is too thin, add a little more powdered sugar.
- Transfer to a piping bag and pipe an outline around the edge of each cookie.
- Allow the outline to dry for a few minutes before filling.
Step 3: Create the Flood Icing
Flood icing is thinner and used to fill inside the outlined cookie.
- Add small amounts of water or lemon juice, mixing slowly until the icing reaches the proper consistency.
- The icing should follow the “15-second rule”:
- When you lift the spoon or mixer, the icing should settle back into itself and smooth out in about 15 seconds.
Step 4: Flood the Cookies
- Spoon or pipe the flood icing inside the outlined cookie.
- Use a toothpick or dowel to gently guide the icing into corners and small spaces if needed.
- Tap the cookie lightly to help the icing settle and remove air bubbles.
Drying Tips
- Allow cookies to dry completely before stacking or adding additional details.
- Depending on humidity, drying can take several hours or overnight.
Tips
- Gel food coloring creates more vibrant colors without thinning the icing too much.
- Lemon juice gives a brighter flavor and helps thin the icing smoothly.
- Store icing covered tightly to prevent it from crusting over.
Perfect for holiday cookies, spring treats, and beautifully decorated sugar cookies year-round!
Decorating Inspiration
I used soft pastel shades for the cookies:
- Bright tulip pink
- Lavender butterfly wings
- Robin’s egg speckled whites
- Soft mint greens
- Cheerful carrot orange
Tiny bunny sprinkles added a playful touch while still keeping the overall look delicate and elevated.
Easter Table Inspiration
One of my favorite ways to style seasonal gatherings is by mixing:
- Fresh flowers with vintage pieces
- Elegant serving ware with playful details
- Refined desserts alongside nostalgic touches
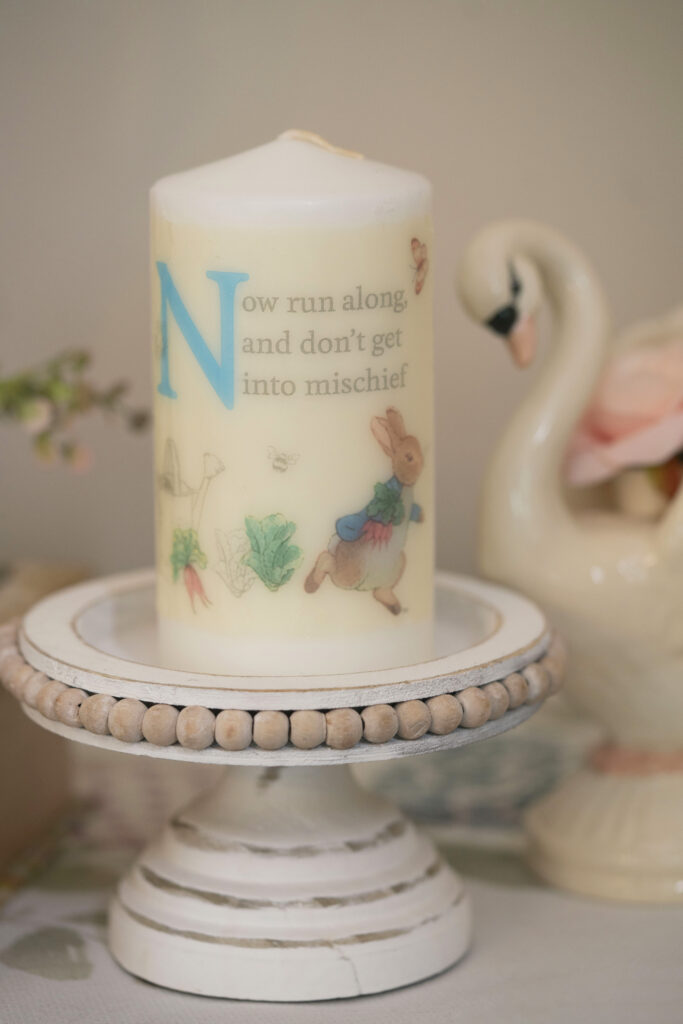
The Peter Rabbit cake topper brought such a charming storybook feel to the table, especially paired with the floral basket and pastel cookies.
For entertaining, I always love using:
- Cake stands in varying heights
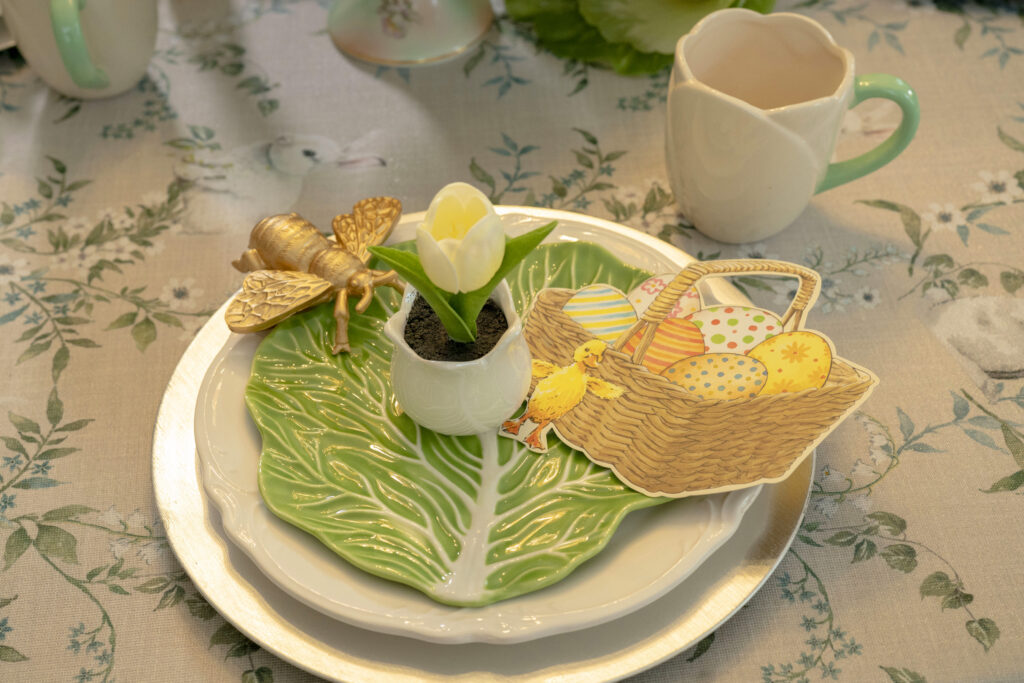
- Vintage tea sets
- Ribbon details
- Fresh flowers in unexpected vessels
- Soft candlelight or natural sunlight
The result feels layered, cozy, and welcoming rather than overly formal.
A Few Easy Ways to Recreate This Look
- Fill a wicker basket with hydrangeas and roses instead of using a traditional vase
- Use pastel satin ribbon throughout your décor
- Mix bunny figurines with elegant florals
- Serve homemade cookies on vintage cake stands
- Add soft spring linens with floral patterns
- Incorporate pastel tea pots and serving pieces
- Use natural light whenever possible for that dreamy spring atmosphere
Final Thoughts
I think what I love most about Easter entertaining is that it invites us to slow down and create something beautiful for the people we love. It doesn’t have to be elaborate or perfect. Sometimes the prettiest gatherings are simply flowers from the market, homemade cookies, and a table set with care.
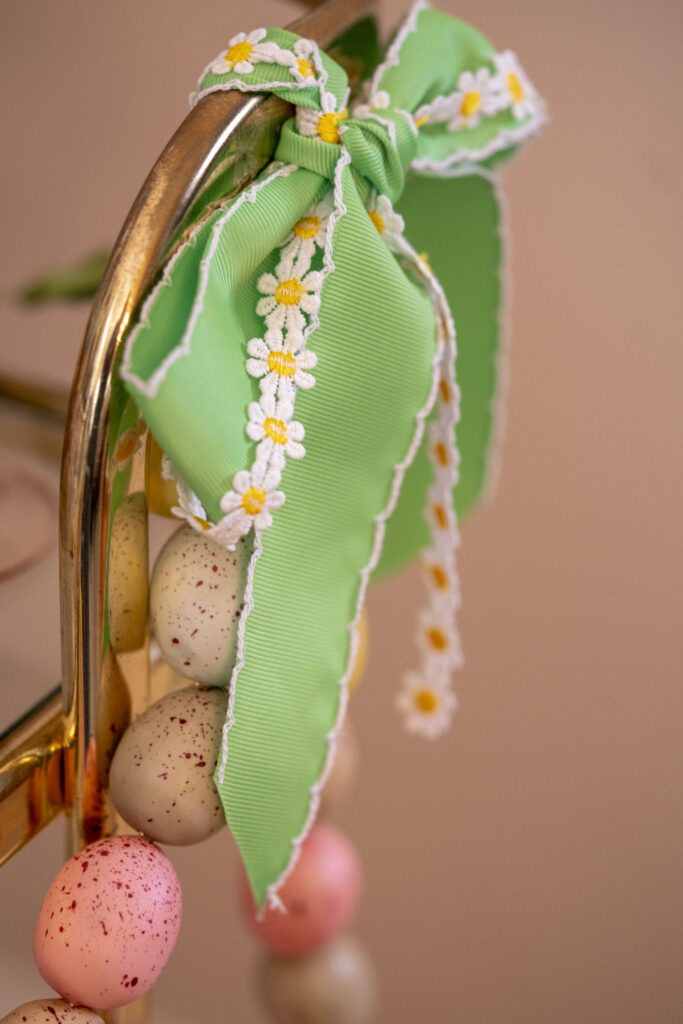
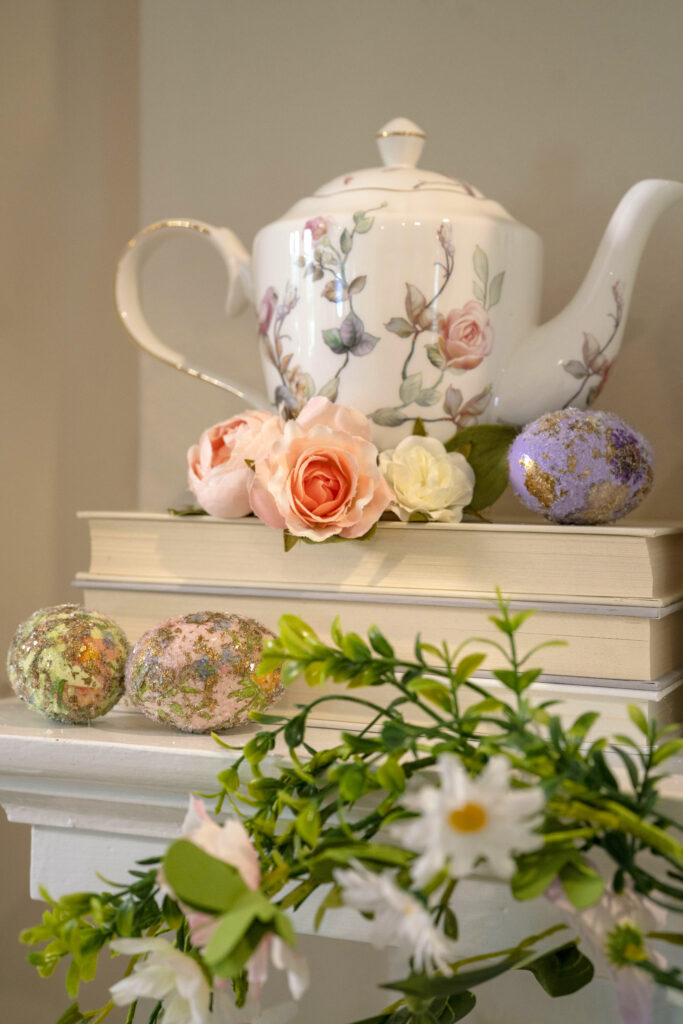
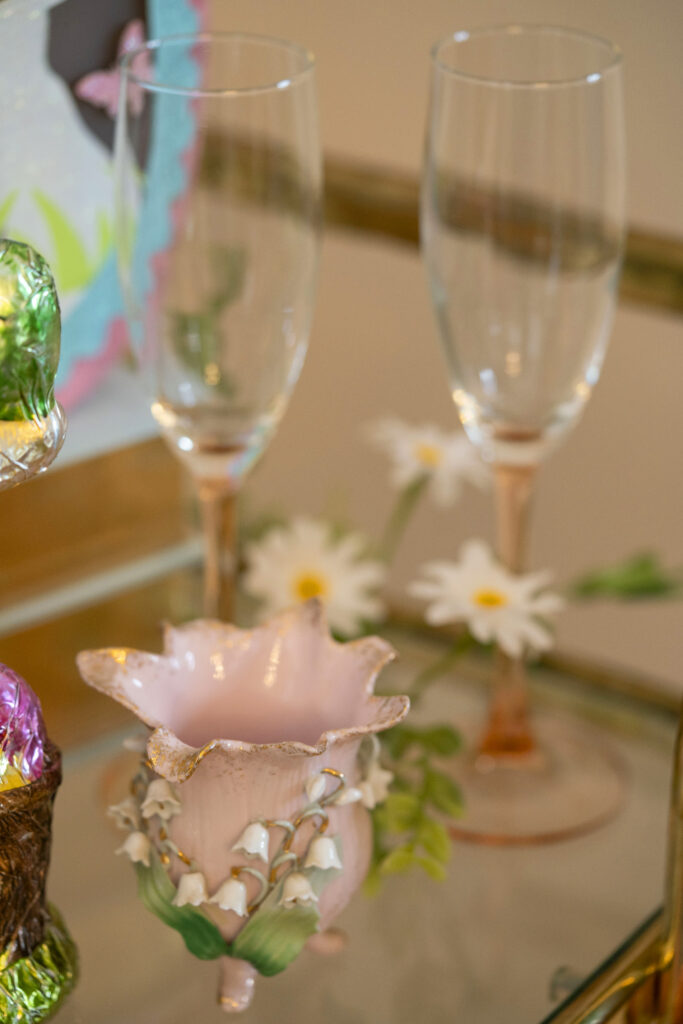
Here are a few Easter-inspired favorites and charming seasonal pieces similar to the items used throughout this gathering.


